
Printed or Digital Photos — What Should You Organize First?
One of the questions I get asked most often is:
“Should I start with my printed photos or my digital photos?”
The truth? There isn’t one right answer. Every family’s situation is different. The key is choosing the project that will make the biggest impact for you right now.
One thing I don’t recommend is trying to organize both at the same time. That quickly becomes overwhelming. Pick one type of media and focus your energy there.
Here are some things to consider as you decide where to begin.
Reasons to Start with Digital Photos
You may want to start with digital if:
Your phone is constantly full
You can’t find specific photos when you need them
Your photos are scattered across multiple devices and platforms
You take photos daily and feel frustrated by the chaos
You don’t have a reliable backup system in place
You would be devastated if you lost everything tomorrow
Digital clutter creates daily stress. If your current photo habits feel out of control, organizing your digital photos may bring the fastest relief.
And remember — safeguarding your digital files is critical. Creating a simple 3-2-1 backup system (3 copies, 2 types of media, 1 off-site or cloud copy) is one of the most important first steps you can take.
Reasons to Start with Printed Photos
You may want to begin with printed photos if:
You have multiple boxes (or totes) of old photographs
You’re worried about fading, heat damage, or aging
You want to create a meaningful project or gift for a loved one
The idea of dealing with them feels heavy or stressful
Printed photos are physical, and that means they are vulnerable to heat, humidity, disasters, and time. Storing them properly in archival containers and keeping them out of garages or attics can make a huge difference.
If you decide to digitize, focus first on the photos that would make you cry if you lost them. Start with what matters most.
The Most Important Question to Ask Yourself
Instead of asking,
“Which is more important?”
Try asking:
“Which project will make my life easier in the next 30 days?”
That’s your answer.
Make a 30-Day Plan
Once you decide:
Set small, realistic goals.
Break the project into manageable steps.
Revisit your plan after 30 days.
If it’s working — keep going.
If it’s not — adjust or switch focus.
Progress is more important than perfection.
Slow and steady truly does win the race.
If you’re feeling stuck, overwhelmed, or unsure where to begin, you’re not alone. Whether it’s boxes of printed memories or thousands of digital photos, the most important step is simply choosing one place to start.
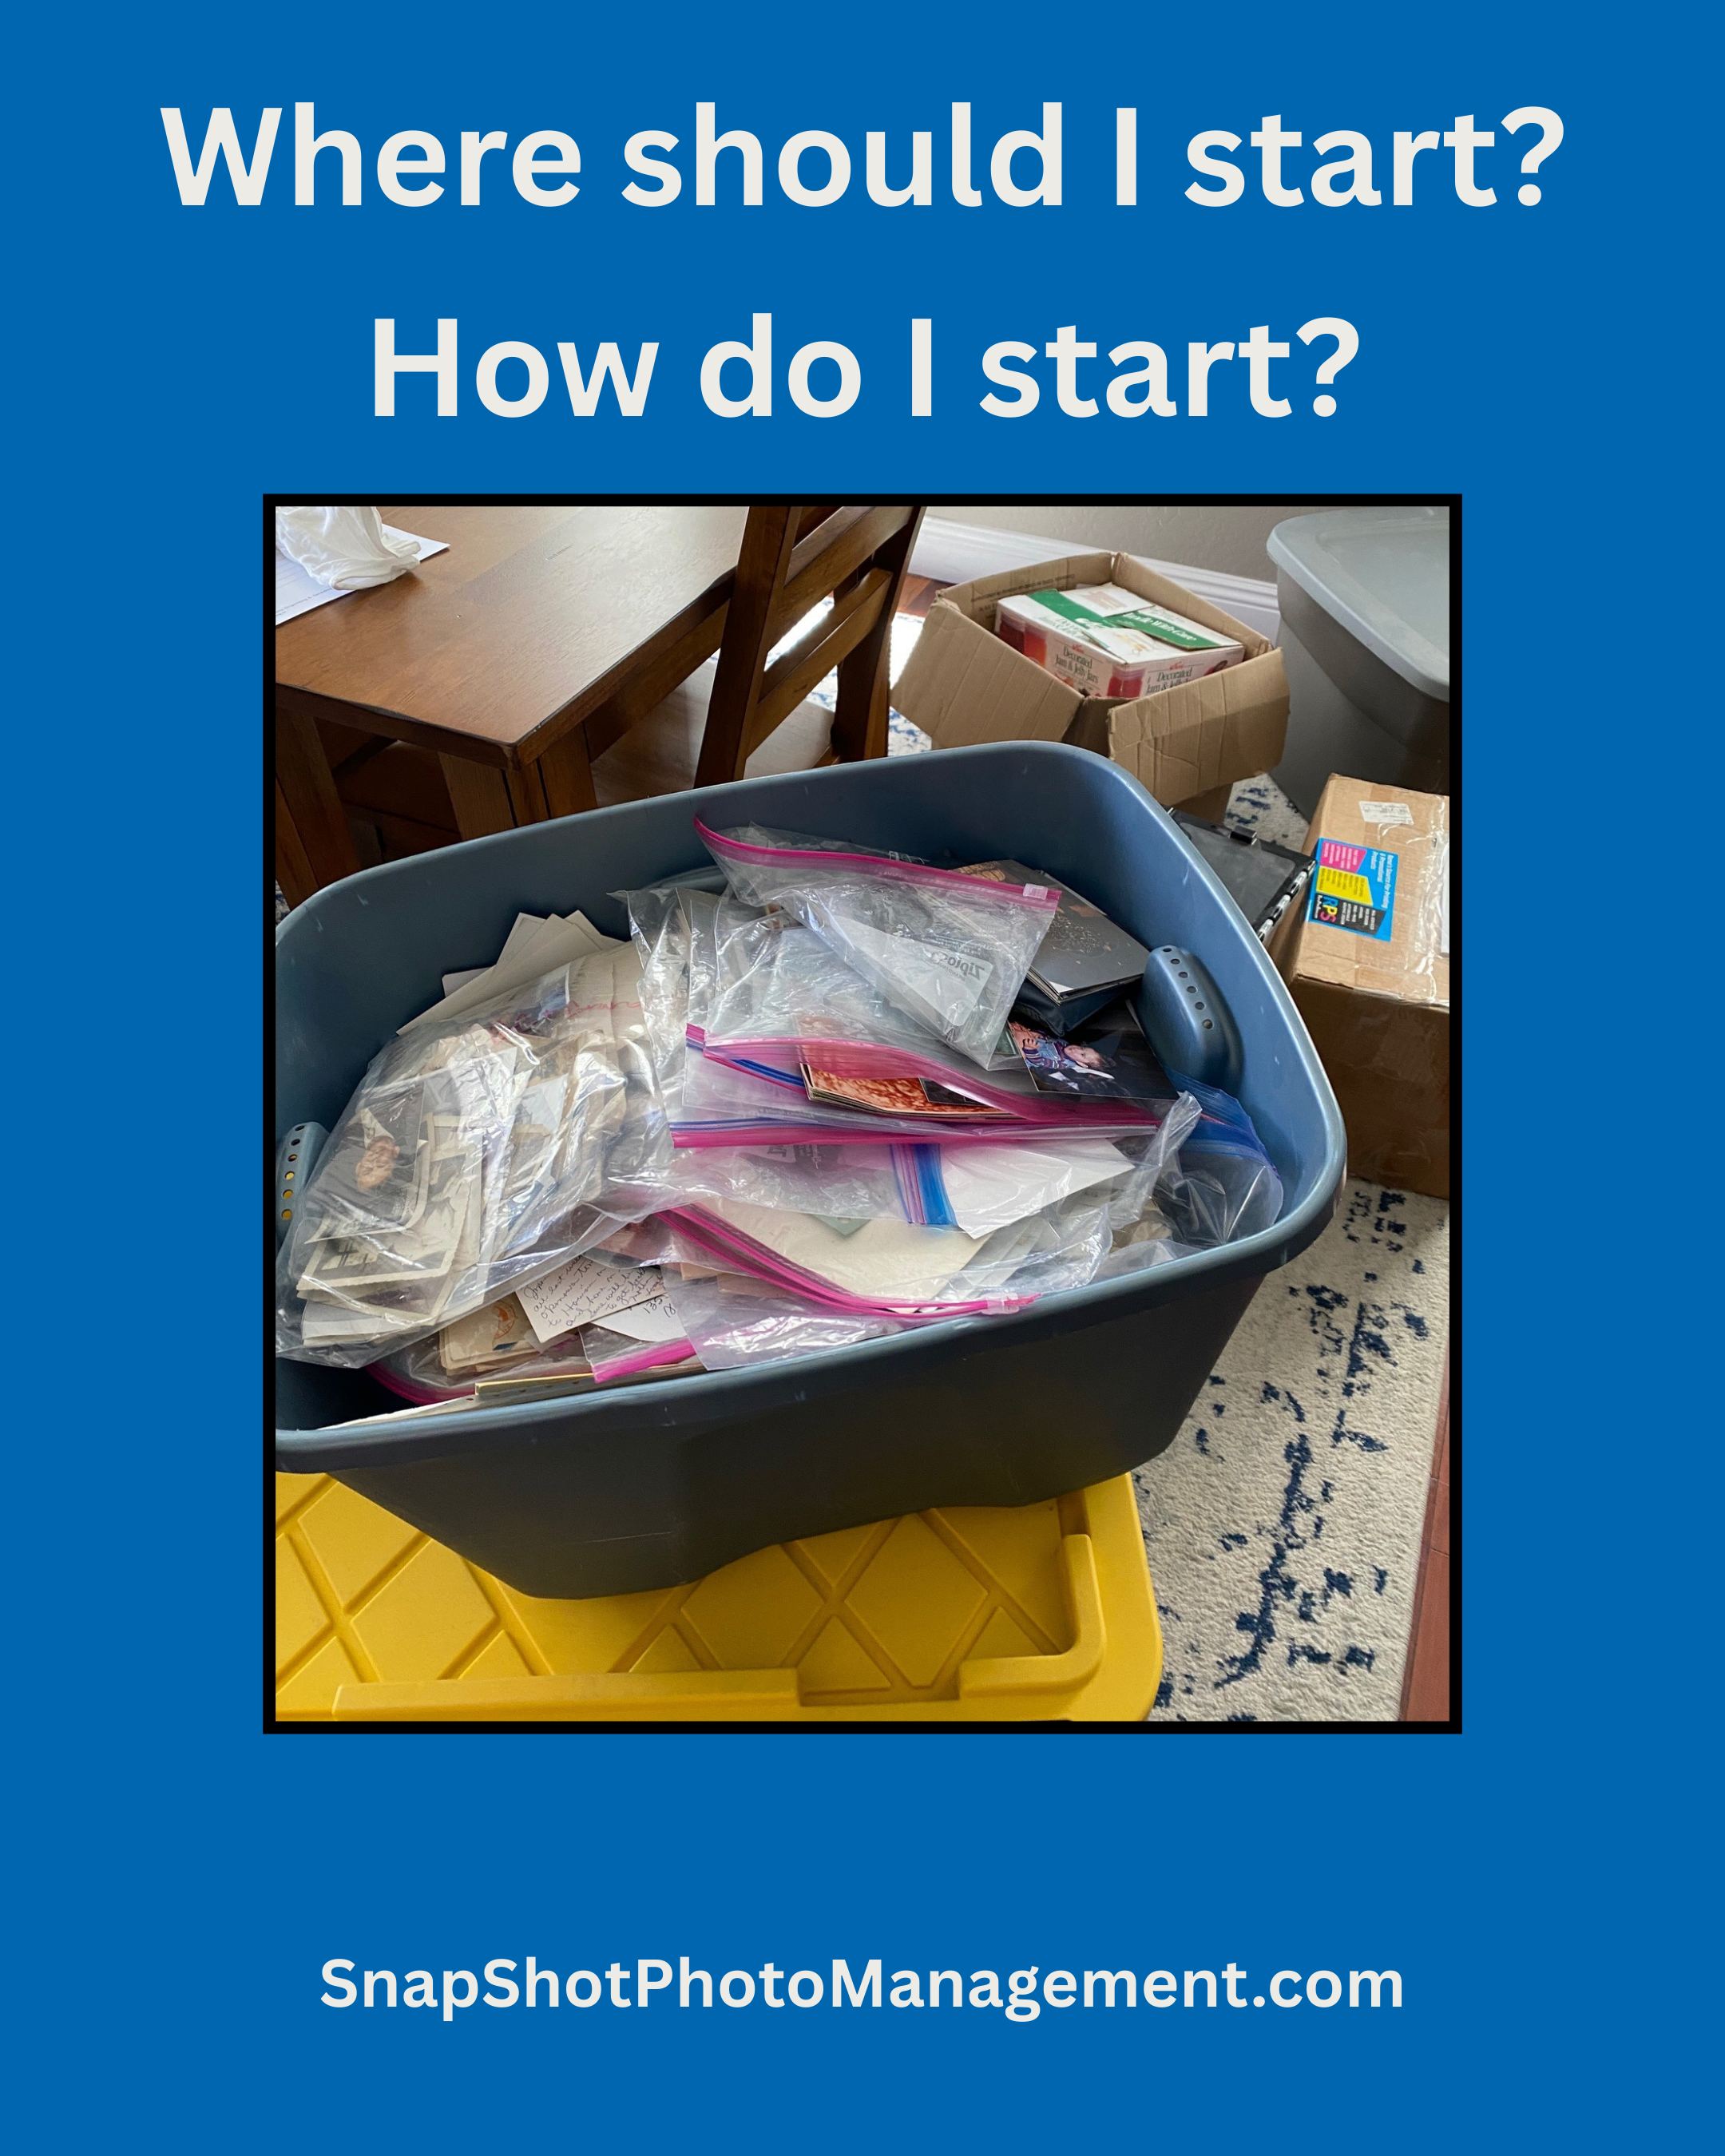
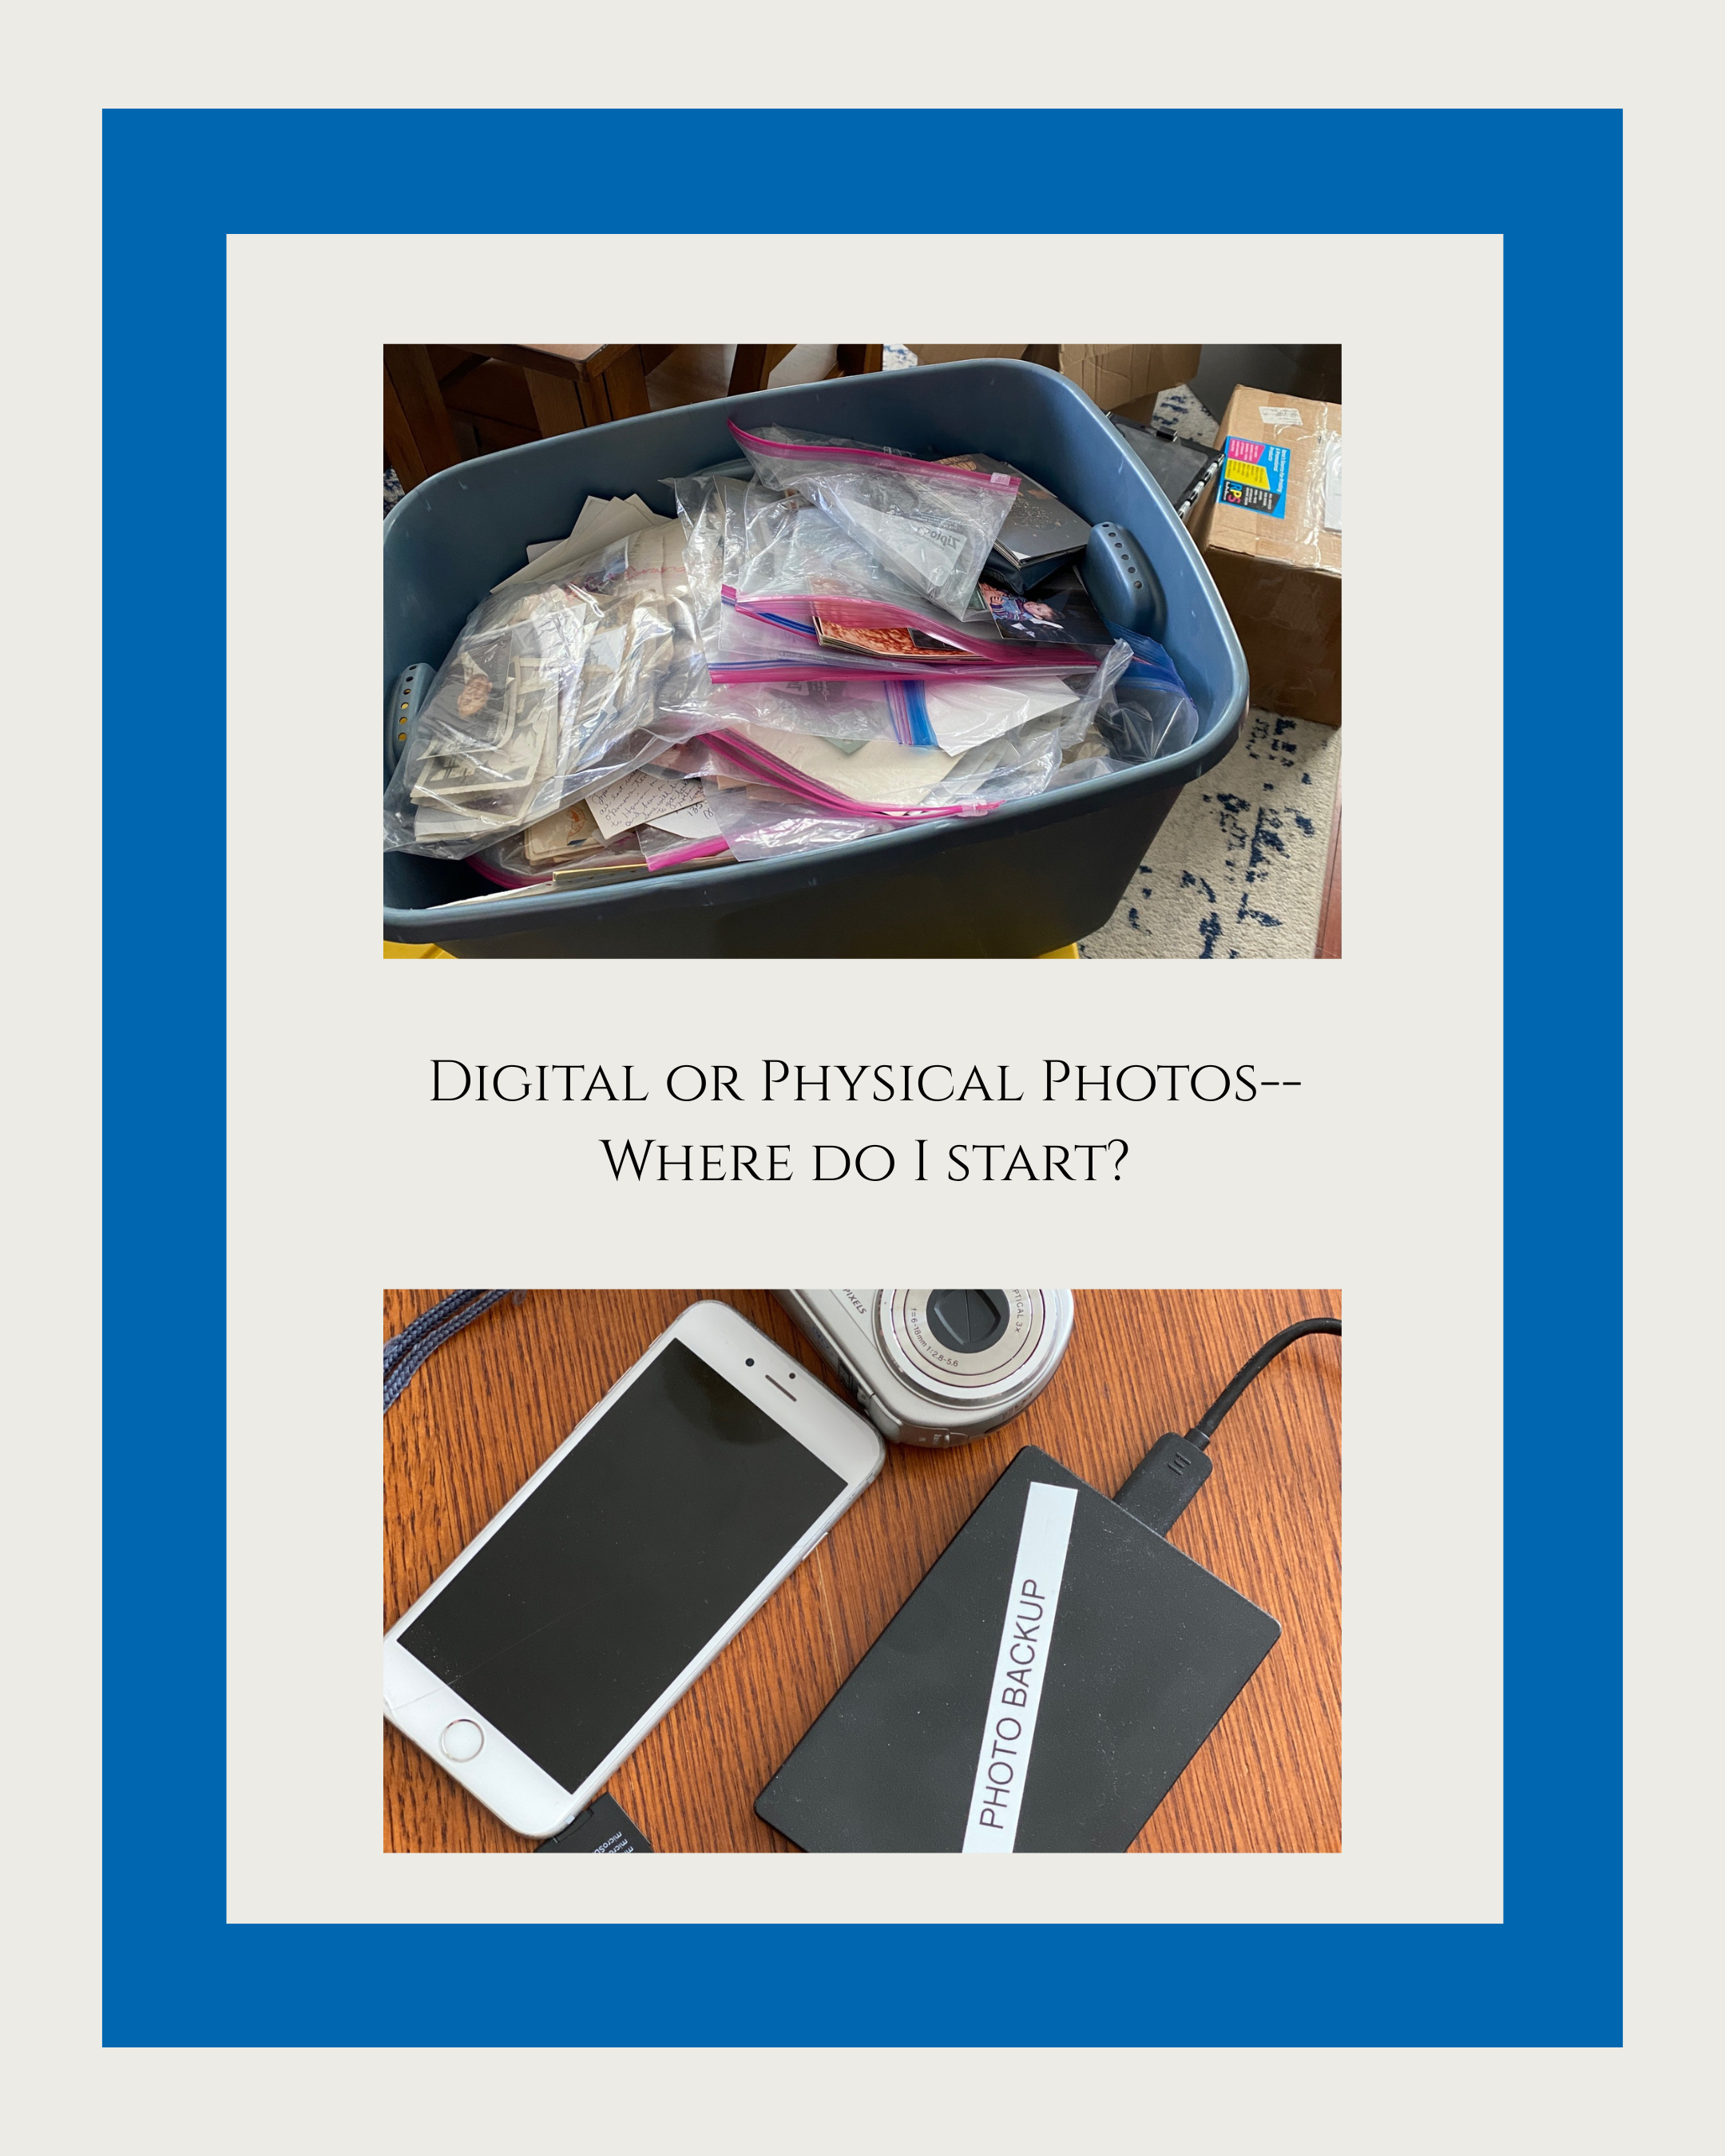
Where Do I Even Start With Years of Photos?
If you’ve ever opened a photo box, scrolled endlessly on your phone, or stared at thousands of digital images and thought, “I don’t even know where to begin,” I want you to know something important: you are not behind, and you are not failing at this. You are normal!
This is the single most common question I hear about photo organizing, and it makes complete sense. Photos don’t announce themselves as a “project.” They just show up in our lives: old family photos, vacations, birthdays, everyday moments, screenshots, school pictures, random uploads, and those photos you meant to “deal with later.”
Before you know it, “later” has turned into years of memories scattered everywhere. That can feel heavy. Overwhelming. Even a little paralyzing.
But here’s the truth I want you to carry with you: you do not have to organize everything to get started. You just need one meaningful starting point.
Why Photos Feel Hard to Tackle
Photos are different from other clutter. They aren’t just objects—they’re people, stories, milestones, and emotions. That’s what makes them priceless… and also what makes them tricky to sort through. No one wants to delete or throw away a memory.
Most of us are juggling photos in multiple places:
On our phones
On laptops or external hard drives
In the cloud
In albums, bins, envelopes, and old shoeboxes
Then we add pressure:
“I should already have this done.”
“What if I delete something important?”
“What’s the right system?”
“I don’t even have time for this.”
No wonder so many people freeze before they begin. That reaction is human, not a problem you need to fix.
The Best Place to Start (And It’s Simpler Than You Think)
Instead of asking, “How do I organize everything?” ask this instead:
Where is this bothering me the most right now?
Think about:
What stresses me out when I think about my photos?
What would make my everyday life easier if it were organized?
Where do I waste time searching for pictures?
For many people, that answer is:
Their phone photos
Recent digital pictures
One overflowing box of prints they keep meaning to sort
This is how you start. One small space. One manageable piece.
Start Small on Purpose
You don’t need a perfect plan or a beautiful filing system today. You just need a gentle first step.
Try this:
Set a 30–60 minute timer
Pick one place (your phone, one folder, or one box)
Sort broadly—by year, event, or simply “keep / maybe / discard”
And here’s a Snapshot secret: stop before you’re exhausted. When you walk away with energy left, you’ll actually want to come back tomorrow.
Progress Over Perfection
Photo organizing isn’t a race or a one-day makeover. It’s a slow, thoughtful unfolding of your family’s story.
Some days you’ll sort a lot. Some days you’ll sort a little. Both count.
Starting is the bravest part. Once you do, you’ll likely discover it feels lighter than you imagined—and more meaningful, too.
Your memories matter. And you don’t have to save them all today to honor them.

Start with the Date: A Simple Photo Organizing Fix That Changes Everything
A few weeks ago, I found myself on a mission: I was trying to locate a single photo from a recent vacation. Just one! I opened up my iPhoto albums and started scrolling…and scrolling…and scrolling. I was a little embarrassed to realize that I hadn’t named most of my albums in any useful way.
There were at least four albums labeled “Thanksgiving” and a solid ten named “Christmas.” Not helpful. At all.
So I finally did what I’ve been meaning to do for ages — I reorganized. I renamed every album and photo file using a system that’s now my gold standard:
YYYY-MO-DY_Subject and Topic
And wow. What a difference. Suddenly, all of my albums were in beautiful chronological order. Everything made sense. I could find exactly what I needed without the guessing game. It was actually fun to see the timeline of my memories unfold in order.
Here’s the best part — it didn’t take long at all. Once I committed to it, the process went quickly. Just a little bit of consistency made a huge impact.
So here’s my advice to you: Start now.
Whether you’re organizing photos on your phone, your computer, or a backup drive, give every file and folder a date first. Even if you're filing inside a sub-folder like “Vacations” or “Family Events,” using the date format helps keep things tidy and searchable.
Trust me — future you will thank you when you're trying to find that one picture from a beach trip, birthday party, or big milestone.
If organizing your photos feels overwhelming, you’re not alone. That’s exactly why I started Snapshot Photo Management. I help people like you preserve, organize, and safeguard their memories for generations to come. Want to get started but not sure where? Let’s chat.

Can You Believe We're Under 100 Days Until Christmas?!
That is so crazy — wasn't it just summer?! But yes, we are officially inside the 100-day countdown to Christmas, and now is the perfect time to start planning thoughtful, personal gifts that your friends and family will actually remember.
If you’re anything like me, you’ve probably got stacks of printed photos, old home movies, or digital files floating around in a dozen places. Why not turn those treasures into heartwarming gifts this year?
Here are a few ideas to get your creative juices flowing:
Photo Books
There’s something magical about flipping through a photo book filled with memories. Whether it’s your kid’s school year, a special family trip, or a collection of childhood photos, these make amazing coffee table keepsakes.
Old Home Movies
VHS tapes and camcorder footage won’t last forever — they degrade with time. Digitizing and editing these into a highlight reel or memory movie is a gift that will bring tears of joy.
Printed Photos in Unique Formats
Think beyond the frame! How about canvas prints, calendars, ornaments, or even puzzles made from your favorite family photos?
Vacation Slideshow
Turn your favorite trip into a beautifully timed slideshow with music — perfect for holiday gatherings or cozy nights in.
Family Legacy Projects
As someone who loves genealogy and memory keeping, I can’t help but suggest creating a small family history booklet or timeline to go with your media gifts. Add some stories or scanned documents — it’s so meaningful.
Don’t Know Where to Start? I’ve Got You.
If this all sounds amazing but also a bit overwhelming — don’t worry! I’ve helped lots of families bring their memories to life, and I have a million ideas to share. Whether you want to DIY something simple or go big with a professional project, I’ve got suggestions for all skill levels and budgets.
Send me a message if you want to brainstorm — I'd love to help you come up with the perfect personalized Christmas gift idea.
Let’s make this Christmas unforgettable — one memory at a time.

Back-to-School Photos: A Tradition Worth Keeping (and Keeping Safe!)
Well, it’s that time of year again—school is starting! One of my favorite traditions has always been taking a first day of school picture. It’s how I’ve tracked my boys from preschool to high school, and even into college. As our family has grown, my daughters-in-law have joined in, sending me pictures of their kids’ first day too. It’s such a fun way to capture those milestones and watch how everyone changes over time.
But as we dive into the excitement, let’s talk about a few things to keep in mind:
1. Protect Your Privacy
If you’re using those cute chalkboards or printable signs that list details about your child, make sure the information is safe to share. Avoid including the name of their school, teacher, or any location details. And before posting online, consider turning off your photo’s GPS data so it can’t be tracked. Keeping our kids safe while still enjoying these traditions is always the priority.
2. Create a First-Day Album
Make life easier on yourself—set up a digital or printed album for each child. Every year, simply add their first day of school picture to that album. Over time, you’ll have a complete collection of their school years in one place.
3. Celebrate the Journey
When each of my boys graduated from high school, I loved pairing their very first first day photo from preschool with their high school first day photo and their last day of school picture. It was such a special way to see just how far they had come—a beautiful walk through time.
This school year, keep the tradition alive, keep your kids safe, and keep those memories organized. Because one day, you’ll look back and be so glad you did.

How to Store Your Photos Safely: Archival Storage Tips
Preserving family memories is one of the most meaningful things you can do—but if your photos are stashed in hot garages or dusty attics, they’re at serious risk of damage. Whether you're just beginning your journey into photo organization or deep into digitizing your collection, here are essential tips to store your photos the right way.
Get Them Out of the Heat
High temperatures and humidity are the enemies of photographs. Never store your photos in the attic, garage, or basement. These spaces are prone to extreme temperature changes, moisture, and even pests. Instead, look for a temperature-controlled space, such as a bedroom closet or interior room, that’s free from direct sunlight and moisture.
Use Archival-Quality Boxes
To truly safeguard your photo collection, use archival storage boxes. These acid-free, lignin-free containers are designed to protect against deterioration. They provide a stable environment that reduces exposure to light and airborne pollutants, both of which can cause fading and brittleness over time.
You can purchase archival boxes online at retailers like Amazon or specialty shops such as Archival Methods. These are the same types of products professionals use when organizing and returning photo collections to clients.
I’ve personally started moving my entire photo collection into archival boxes—and I highly recommend you do the same. When working with clients, I always return their collections in archival-safe products. It’s a small investment that pays off by preserving generations of memories.
Bonus Tip: Digitize What Matters Most
In addition to physical storage, begin digitizing your most valuable photos. Focus first on the images that would break your heart to lose. Scan them at 300–600 dpi as JPEGs or TIFFs to maintain quality, and back them up using the 3-2-1 method:
3 copies of your data
2 different types of storage media
1 copy stored offsite or in the cloud
By combining archival storage with digital backups, you can ensure your family’s legacy is safe for years to come.

What Do I Do With All These Pictures? Make a Slideshow!
Have you ever found yourself staring at a growing collection of photos and wondering, What am I supposed to do with all of these? Whether they’re tucked away in a closet, scattered across old devices, or stored on your phone, it’s easy to feel overwhelmed by the sheer volume of memories we collect over time.
For me, one of the most joyful ways to bring those memories to life is by creating a slideshow. Slideshows are more than just images set to music—they’re stories. They help us remember, reconnect, and relive the special moments that make up our lives.
This week, I’m working on two different slide shows. One is for a friend’s wedding, and the other is for a youth camp I attended. Both are deeply personal, and each has reminded me of the power of photos when they’re shared in a meaningful way.
The wedding slideshow has been especially touching. I’ve known this couple for years—watched them grow up, fall in love, and now begin a new chapter together. As I sort through childhood snapshots, prom pictures, and engagement photos, I’m filled with nostalgia and gratitude. It’s not just a video—it’s a tribute to their journey and a gift they’ll treasure forever.
The camp slideshow, on the other hand, is full of energy and laughter. Turning a week of adventures into a fun and upbeat recap for everyone to enjoy is a truly rewarding process. These kids made memories they’ll never forget, and now they’ll have something to help them remember all the late-night campfires, games, and friendships.
If you’ve got photos sitting in a box, on a disk, or lost in your camera roll, consider creating a slideshow. It’s a beautiful way to share your story—whether it’s for a birthday, wedding, reunion, or just because.
And if you’re not sure where to start, I’d be happy to help. Bringing memories to life is what I do. Let’s create something that will be remembered, revisited, and cherished for years to come.